Radiant Heating System 5
| After
completing the thin-fin portions on the heating system, the next part
was the Roth panels. These were used in the part of the house that was
built on a slab. There are three bedrooms and a hallway that will get
Roth panels. Two bathrooms in this part of the house will be heated
with Runtal towel warmers. The first step is to pull up the carpet,
padding , and
in some cases linoleum floor tiles too. |
 |
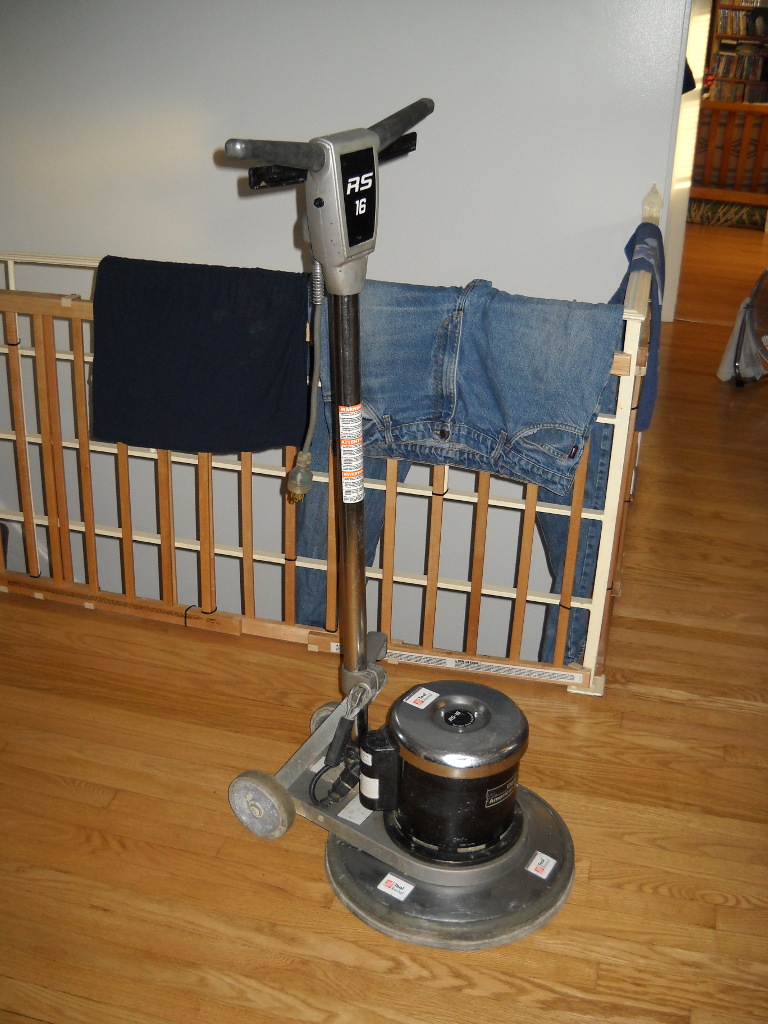
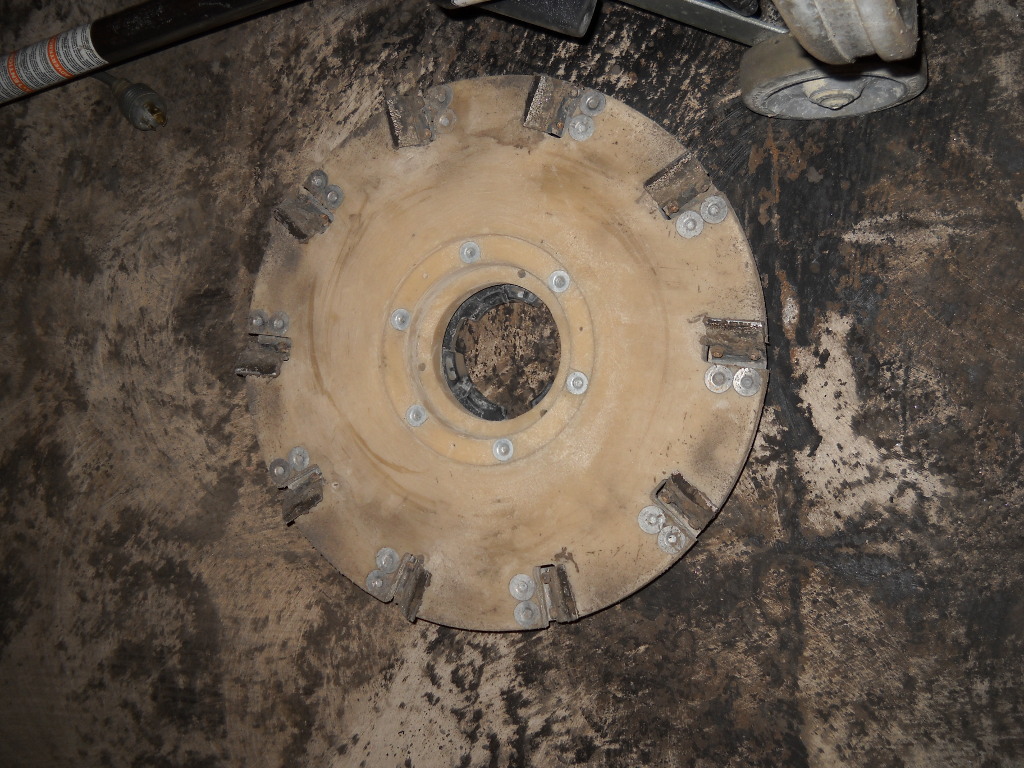
| The
black adhesive from the linoleum tiles has to go. There are different
ways to remove it, but I chose the concrete grinder shown below. The
actual grinding wheel is also shown. |
 |
 |
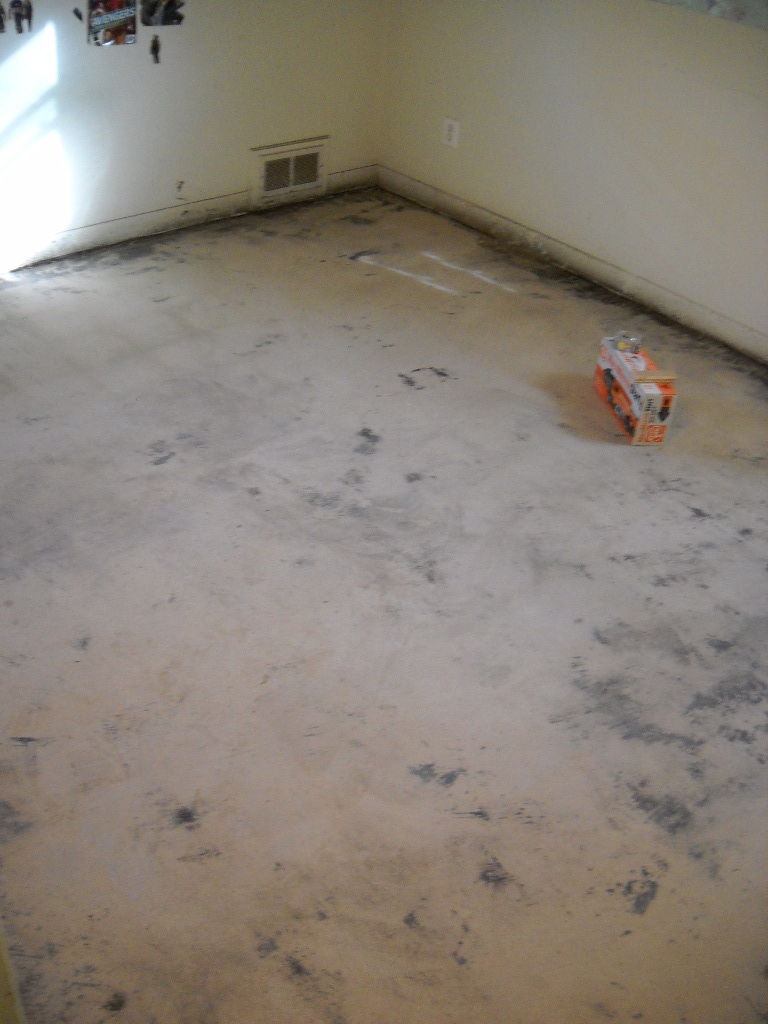
| This is the room after grinding
off all the adhesive. |
 |
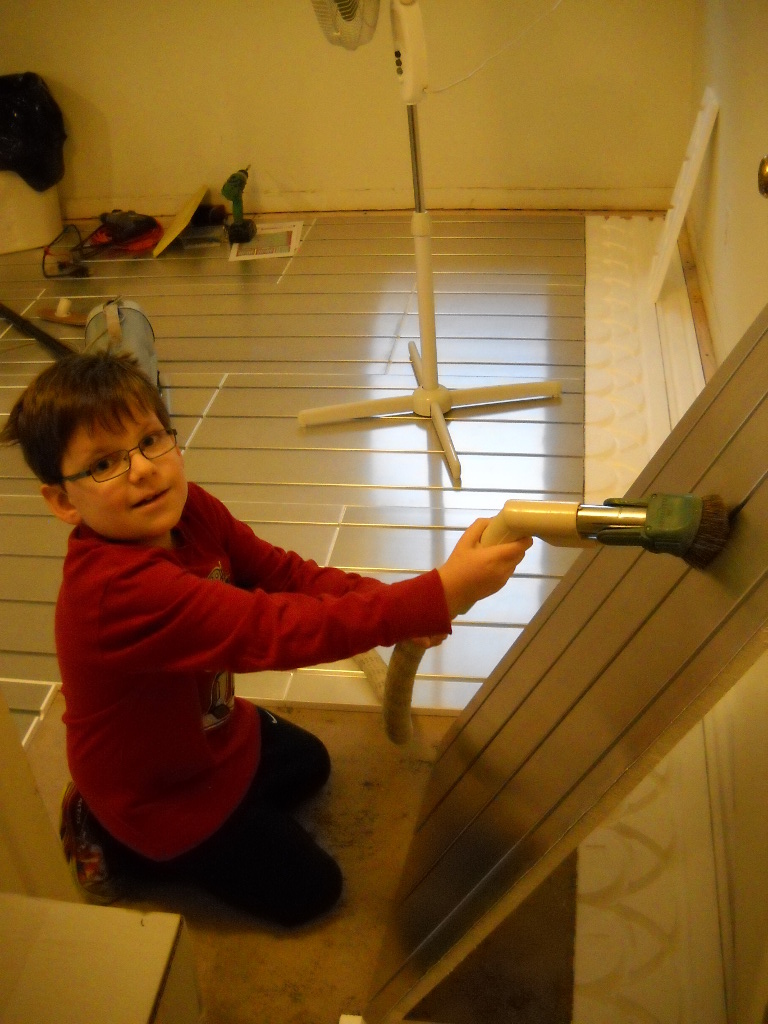
| The next step is to install a
1.5" x 3/4" plywood nailer strip around the perimeter. The door
thresholds also get 3/4" plywood. In a later photo, you'll see how to
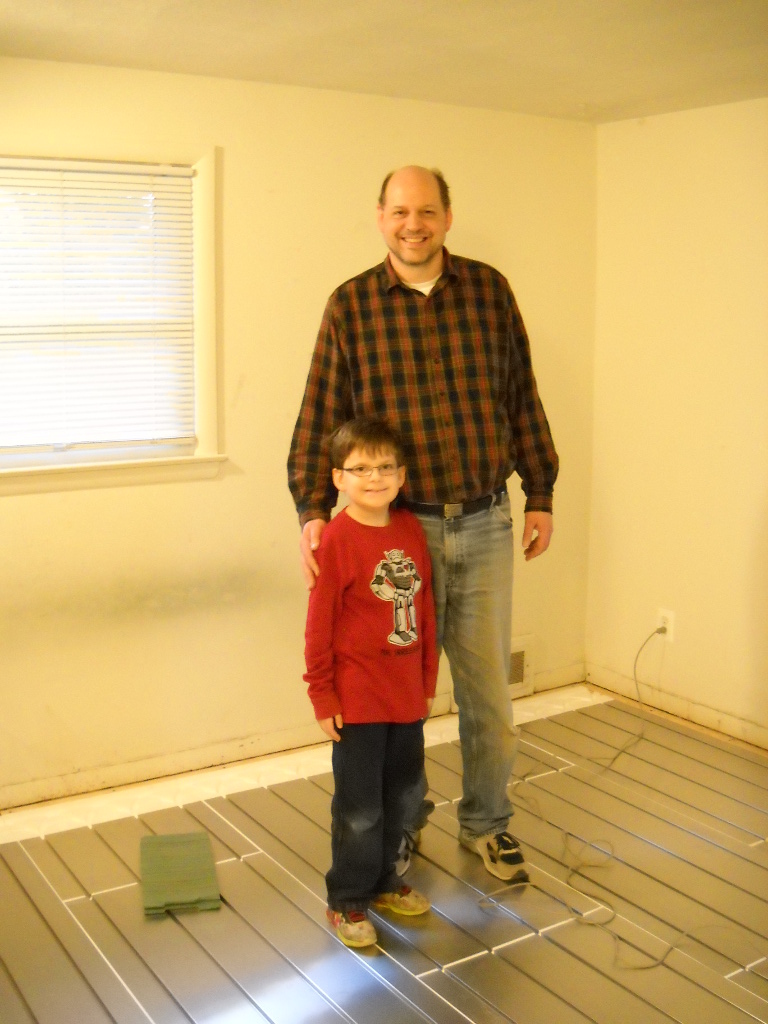
get the tubing through the plywood pieces. Here is my assistant getting
ready to install the Roth radius panels. You can also see the nailer
strip which is already held down with Tapcon screws. |
 |
| Getting a Roth panel ready for a
dry fit. We vacuum everything, do the dry fit, then go back and apply
adhesive (PL400) to all the panels. The panels with aluminum plates are
also screwed down with Tapcon screws. |
 |
| All the panels in, ready to be
glued and screwed down. |
 |
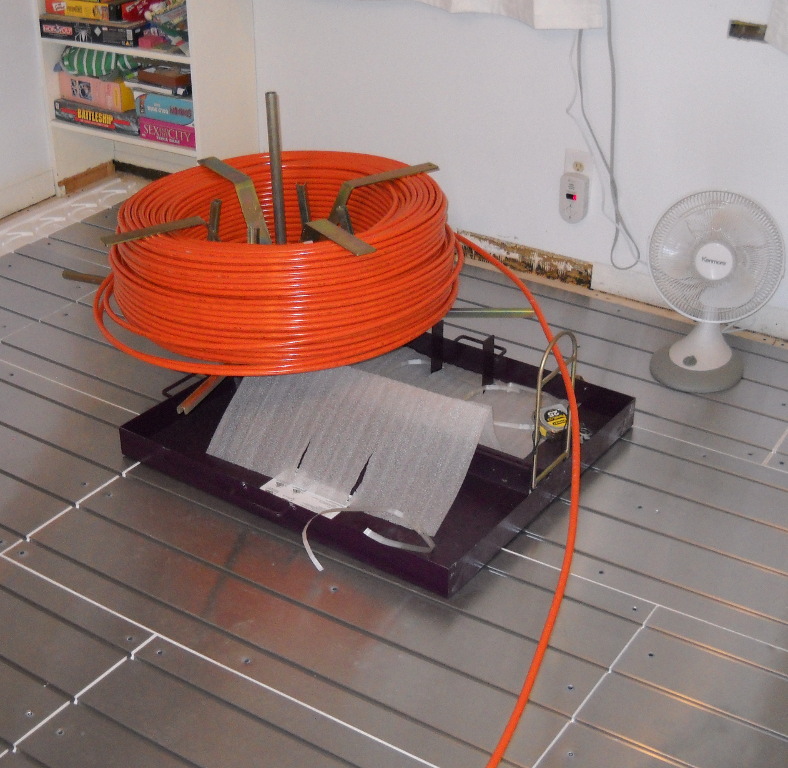
| The tubing unwinder with the PEX-AL-PEX tubing. |
 |
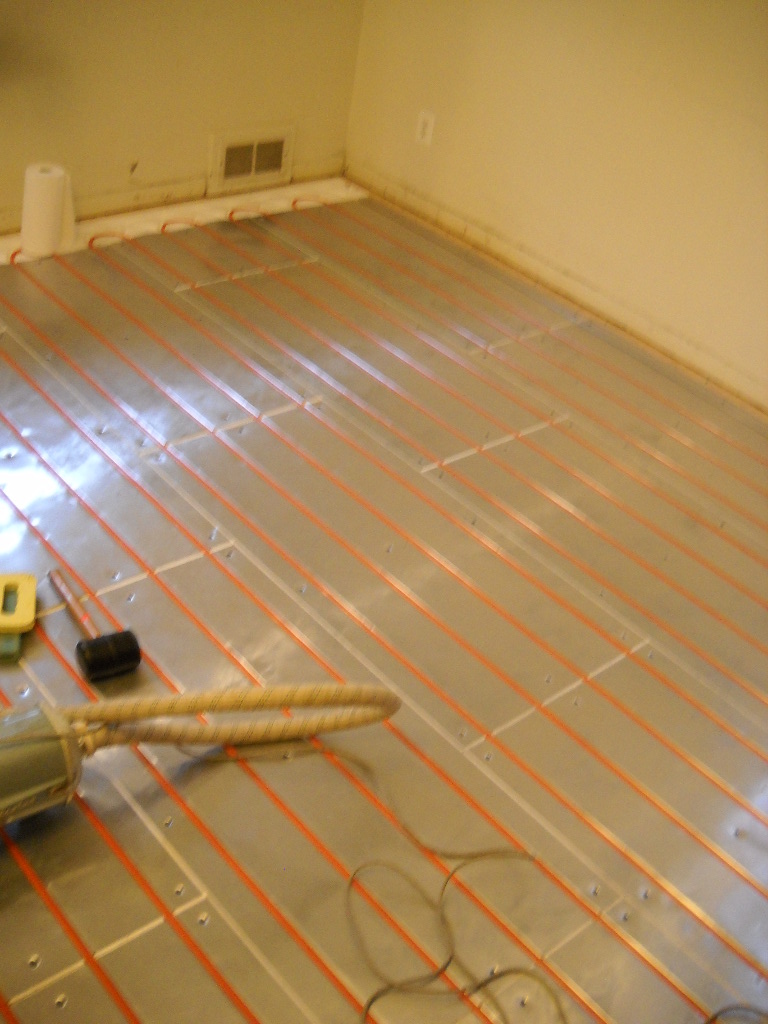
| The completed panels with the tubing installed. You can see the screws, 9 per panel. |
|
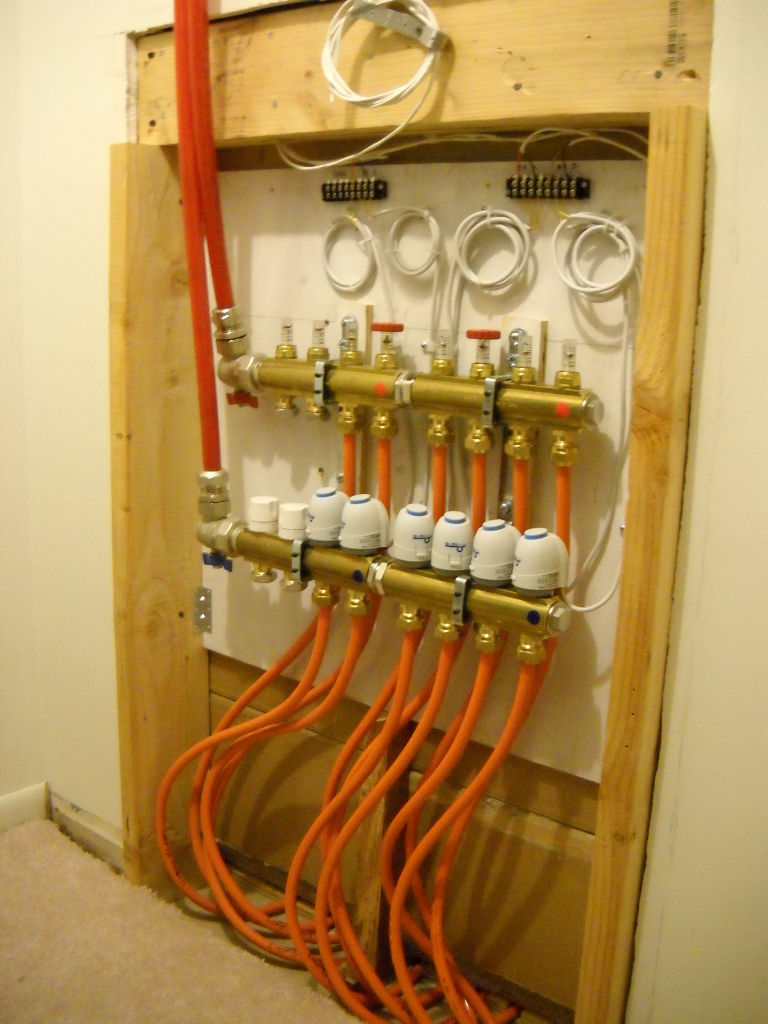
| All the Roth panels connect to
this manifold in the master bedroom closet. The unused connections will
connect to the Runtal towel warmers in the bathrooms. |
 |
<- Previous Next ->