Radiant Heating System 2
| The solution: Our original plan was hot water baseboard heating. We knew it worked well and we liked it since we had it in our previous home. I picked up a copy of John Siegenthalers Modern Hydronic Heating book to learn as much about this as I could. After going over this book and checking out web sites like heatinghelp.com, I determined that radiant heating may be the best option. I contacted NRT Radiant after reading some posts by NRT Rob to see if they could design a system for me. It turns out they specialize in designing systems for do-it-yourselfers. But, unlike some other internet companies, they are very thorough. Since I didn't have blue-prints for this house (it was built in 1956), I had to draw some up using Punch Platinum Home Design software. Then I had to answer a million questions (well it seemed like a million! :-) ) like: How thick are the walls? What are the walls made out of? How much insulation? What kind of windows? How many windows? How big are the windows? What is the R-value of the windows? Which side of the house faces north? And many many more! Actually, I didn't mind answering these questions since I knew they would be used to determine the "heat loss" of my house. And if you read Modern Hydronic Heating, determining heat loss is one of the most important steps. Once the heat loss was determined, the system was designed and the boiler sized. I contacted a local heating contractor, Aiello Home Services, that could supply and install a Buderus boiler and indirect hot water heater (the old hot water heater was electric). Aiello had no problem working with NRT Radiant and the installation went very smooth. |
| Below is the ceiling of our garage which is under the house. First I had to rip down all the sheetrock and insulation, then I had to get rid of these old hot air ducts. |
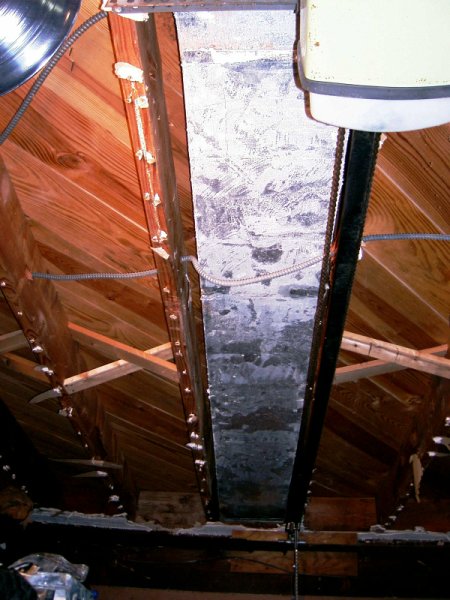 |
| Then, any nails that protruded through the sub-floor hat to be cut and/or ground down so they were flush with the sub-floor material. This was in preparation for installing aluminum plates for the radiant heating. I left the cross-bracing in place. I only had to remove three pieces of cross-bracing to get the tubing in place, and I was able to re-fasten those pieces after the tubing was in. Tools used: angle grinder for cut flooring nails, Fein Multimaster and a drill with a cut/sand disk for soft nails. |
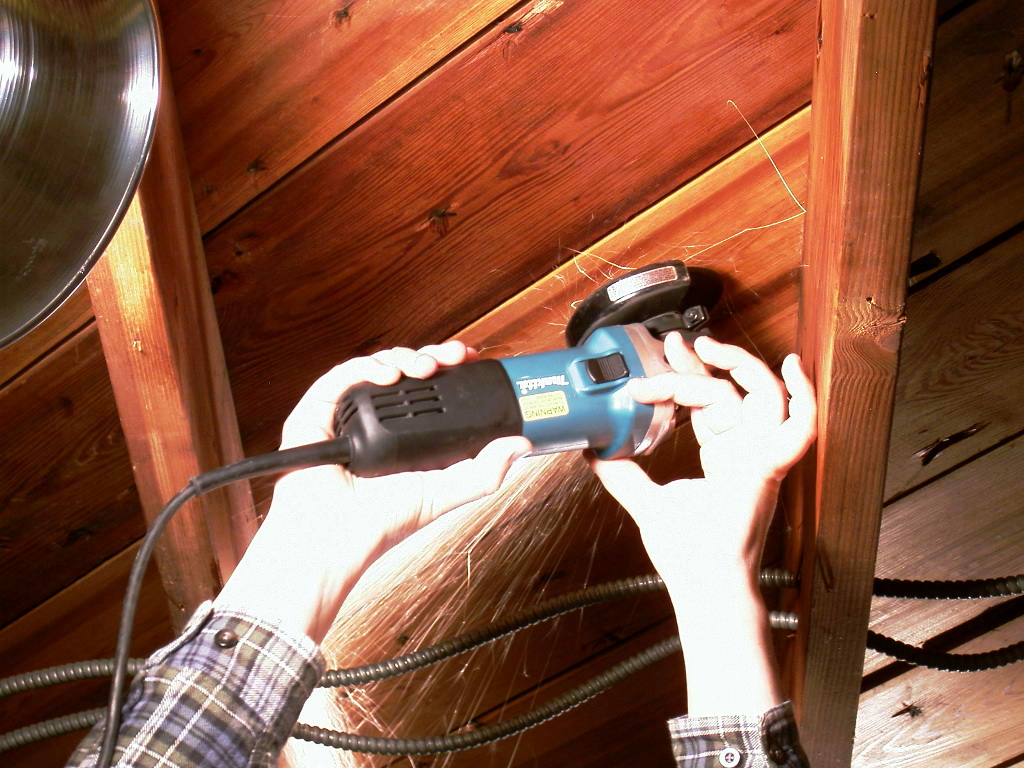 |
| After all the protruding nails were ground down, you're left with a clean joist bay like this. |
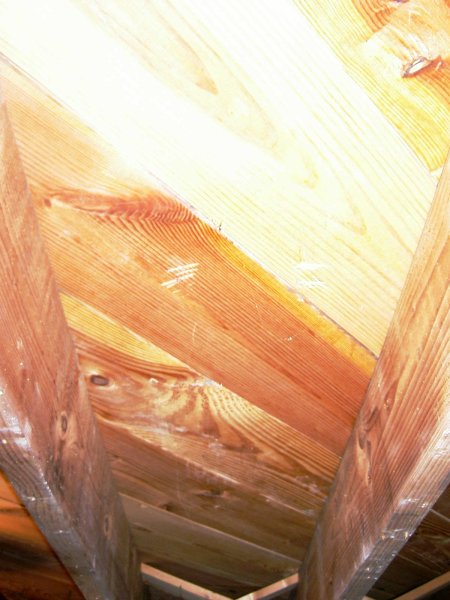 |
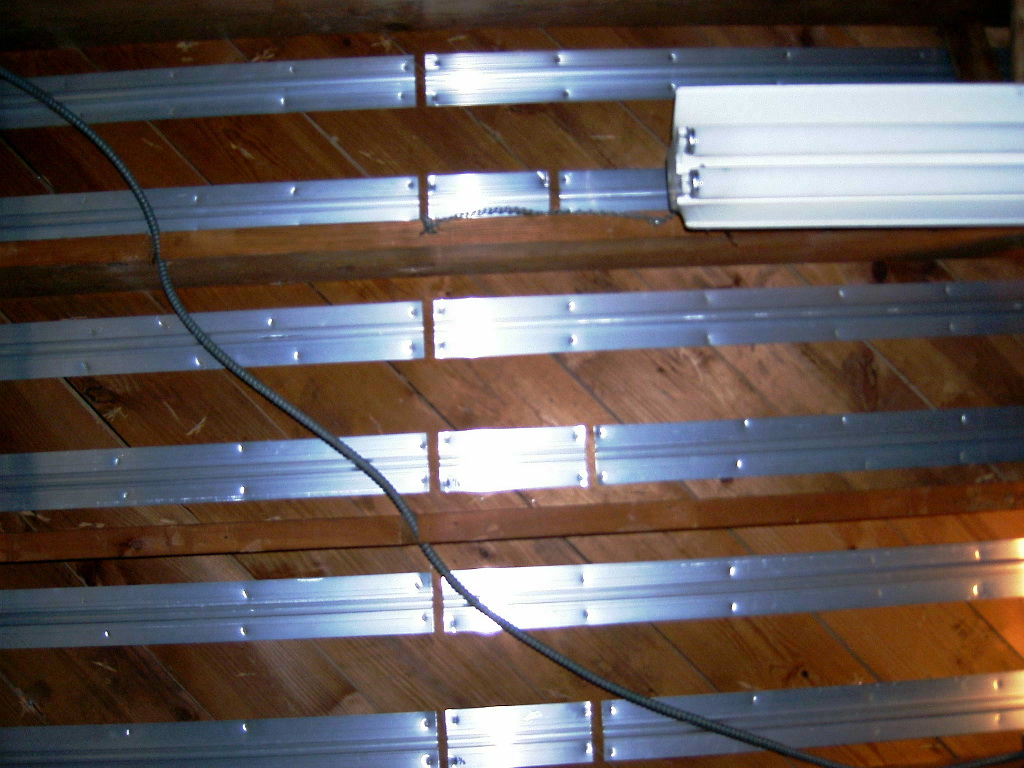
| After all the nails were ground
down,
the extruded aluminum plates were installed using a pneumatic staple
gun. I made a set of spacers to make it easier to get the plates
aligned within each joist bay. Also, when stapling the plates in, I
used a short piece of PEX to align the end of each plate with the next
one. |
 |
<- Previous Next ->